No, I’m not making a baby bib for the alien baby. It’s long gone. It would’ve been nice if it was another Superman because he was also an alien but it would probably turn out to be Zod… So, I guess either way mine would be scary or a bad guy.
My cousin on my dad’s side had a baby girl like a week or two ago, maybe three, I don’t know, I’ve been lost in my own timeless world. Seems like the first girl in a while, and it’s her first girl. She had all boys. I’m excited for her and my new second cousin! And I wanted to make something pink.
Anyway, I’m still on house arrest recovering from surgery but I’m getting more and more energy back that now I can prepare the fabric, cut it, and actually sew it together. I’m not to the point where I can complete it in one sitting, but I’ll only have two or three minor things left to finish. I might as well tell you how I did it!
All tutorials have a materials list but I rarely use the proper tools for anything so I won’t say you NEED something unless you absolutely NEED it. Like fabric, that’s a definite NEED.
I don’t remember where I got it or who I got it from, but luckily this bib pattern has the name and website where it originated. Friends and Family have given me patterns and printed instructions over the years and I’m so thankful but sometimes it will be a single sheet with one shape to cut out and I have to figure out the rest. It’s still fun though.
STUFF I USED
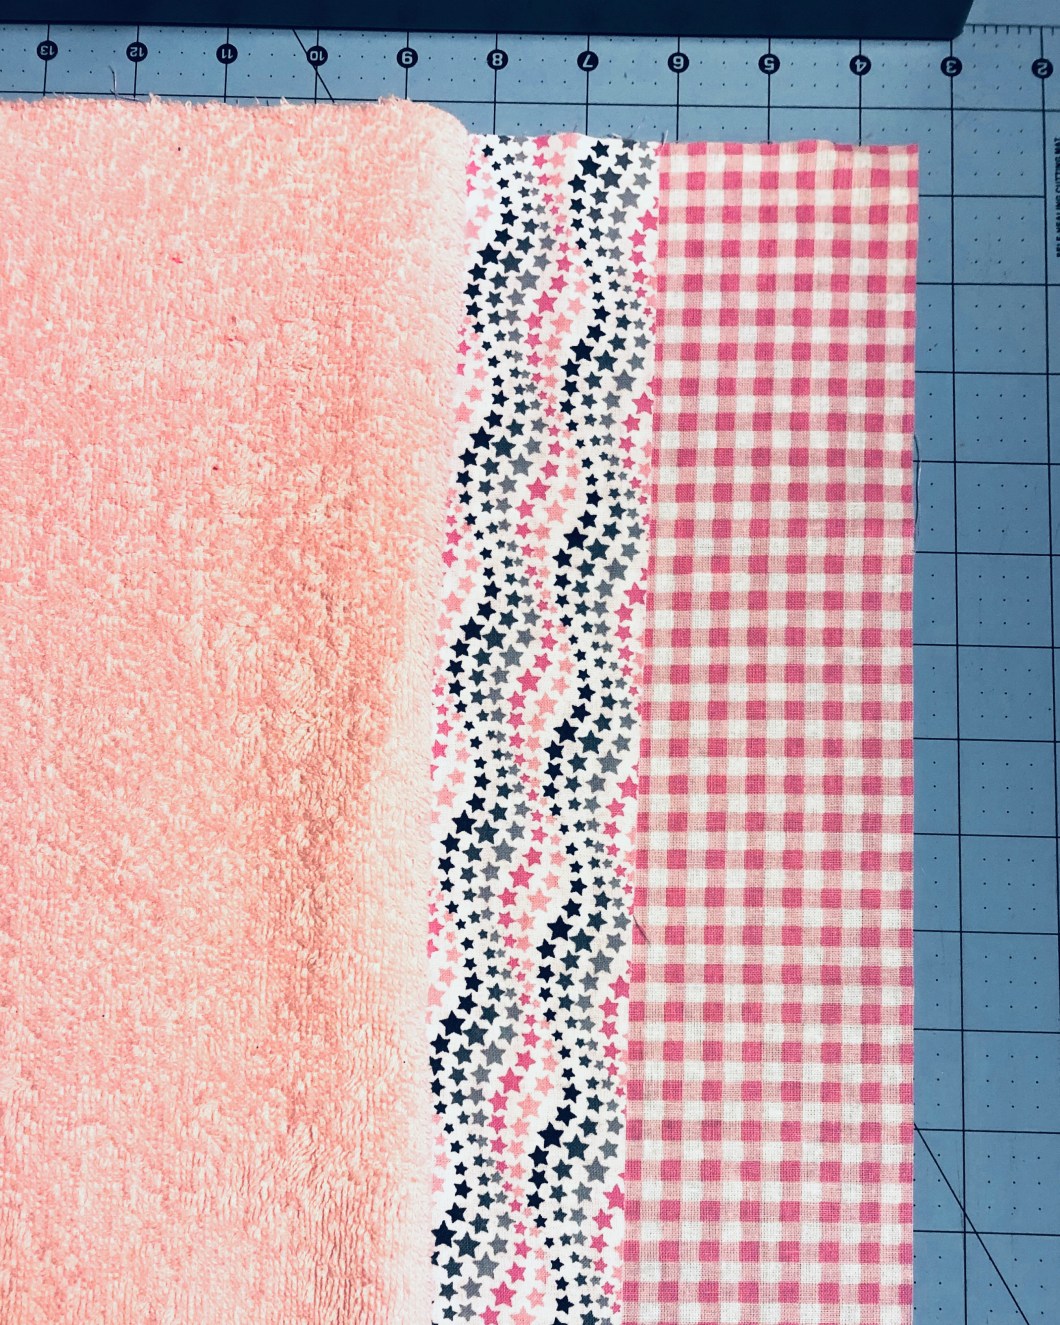
• Fabric – I used a fat quarter and had some left over to make a matching burp cloth. Just plain cotton fabric, nothing fancy.
• Terry Cloth – I buy a half yard because I don’t want to bother with specific measurements.
• Vacuum – or lint roller or wide tape so you can pick up all the little terry cloth droppings that will most likely end up EVERYWHERE.
I would add to the list iron, corner turning tool, pins, sewing machine, etc. but what if you’re hand sewing it? Or using hot glue to piece it together. I don’t know your business so I won’t assume anything.
I have two printed fat quarters here on the right along with the terry cloth on the left. I’m only using one print for now.
GETTING STARTED
1. Print the pattern. Click here (and then wherever they want to you to click) to get your own pattern. Or maybe follow that tutorial.
2. Press the fabric. I hate pressing fabric but it does help. You won’t have to deal with annoying creases later.
3. Trace the pattern onto the fabric. A water soluble or heat erasing marker is better but I just use a regular ink pen. See the marks? Or maybe just pin or lay the pattern onto the fabric and cut around it. Do what you want.
I normally don’t cut around the neck, I do that later but I was watching a movie and kept cutting.

A burp cloth or another bib will fit on this one fat quarter. Or cut some squares for washcloths. There will be plenty of terry cloth left over.
Two bibs side by side will fit lengthwise onto the half yard of terry cloth.
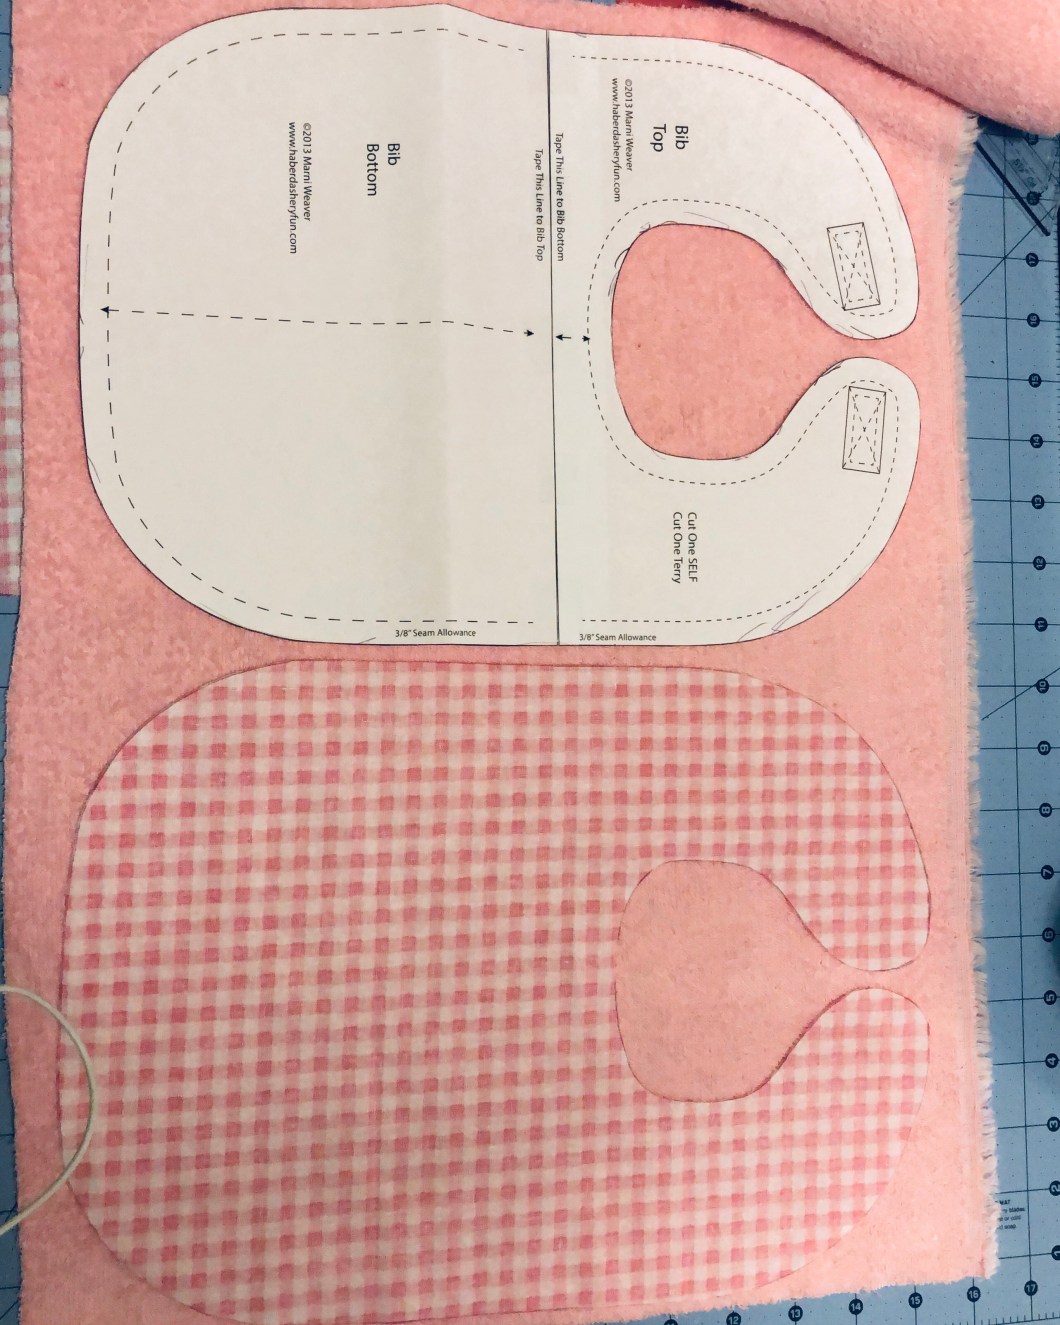
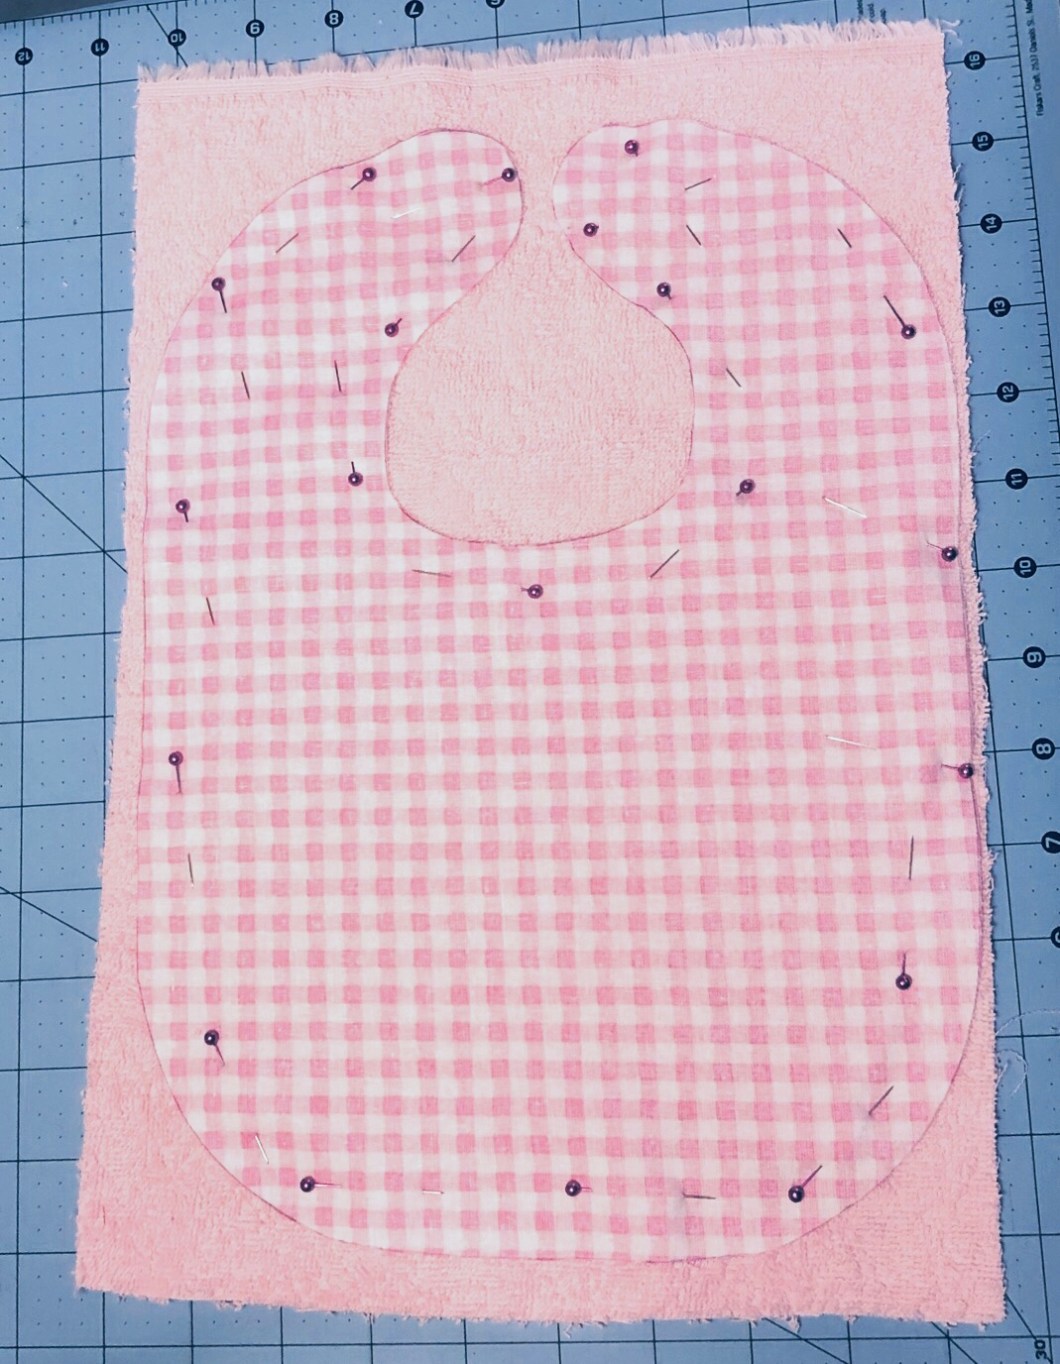
4. Cut a square around the bib but don’t cut out the pattern on the terry cloth. For me, it’s easier to sew because I don’t have to worry about keeping the edges lined up.
5. Put the right side of the fabric down onto the terry cloth. The terry cloth looks the same on both sides so it doesn’t matter which side to use I guess. Pin or clip or somehow keep them attached. If you’re pinning, there’s no wrong way, do what’s comfortable. You’ll probably remove them as you’re sewing.
Gosh, the lighting in my pictures is all over the place. Hm whatever.
SEWING AND STUFF
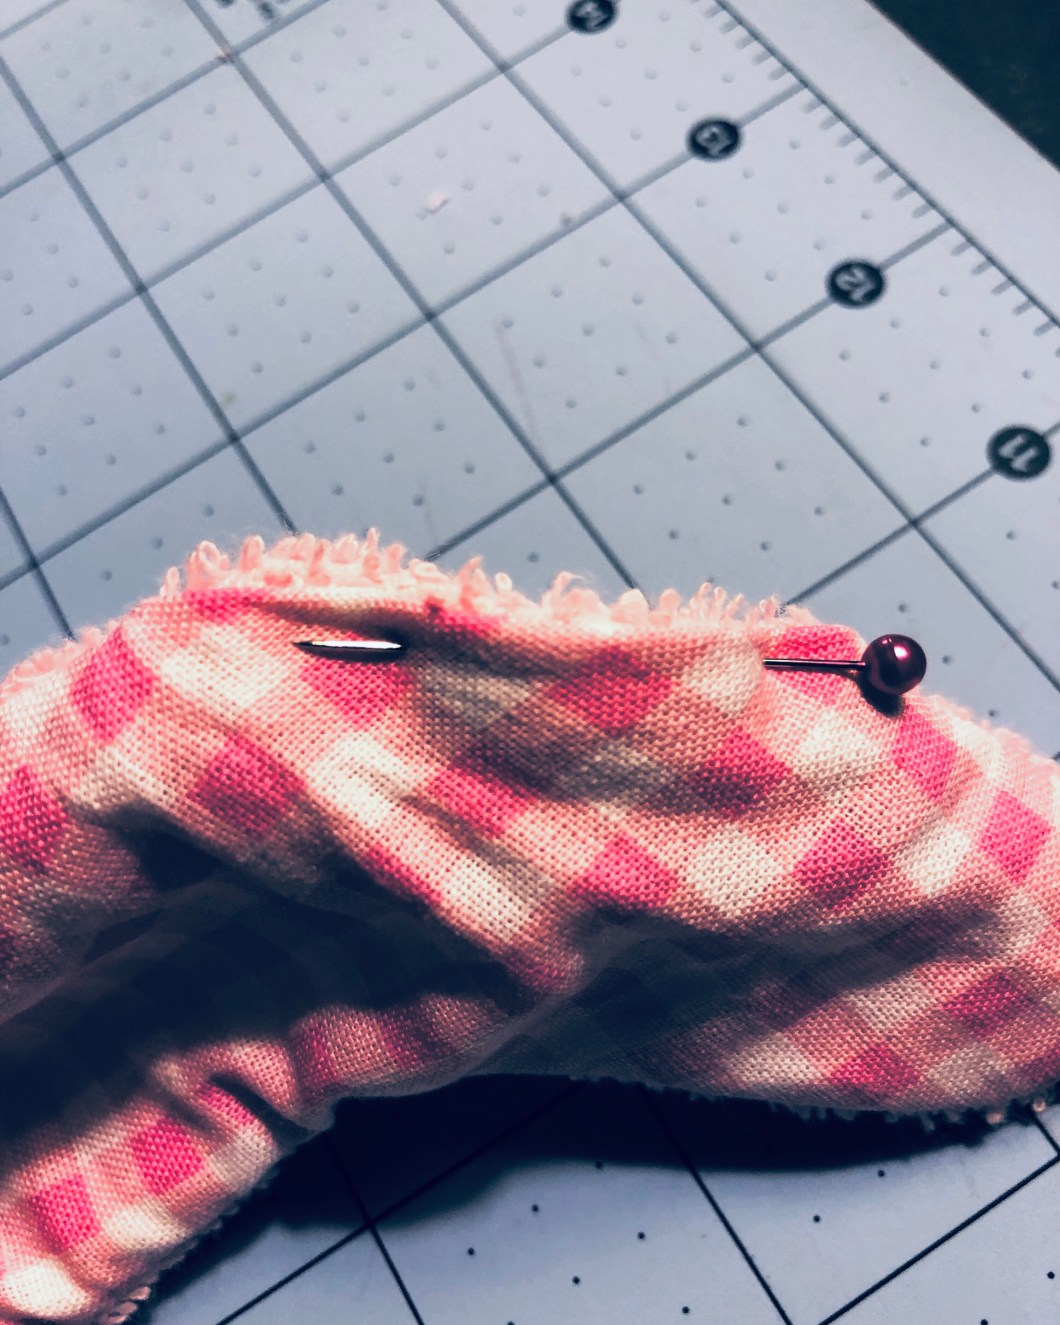
6. Sew around the bib using a 3/8″ seam allowance the pattern says. I think that’s what the foot is on my machine so I’m just lining up the side edge of the foot to the edge of the fabric. Using smaller stitches works best for me when it comes to sewing curves. And leave a little opening somewhere for turning the bib rightside out. 2 inches is enough to easily turn it.
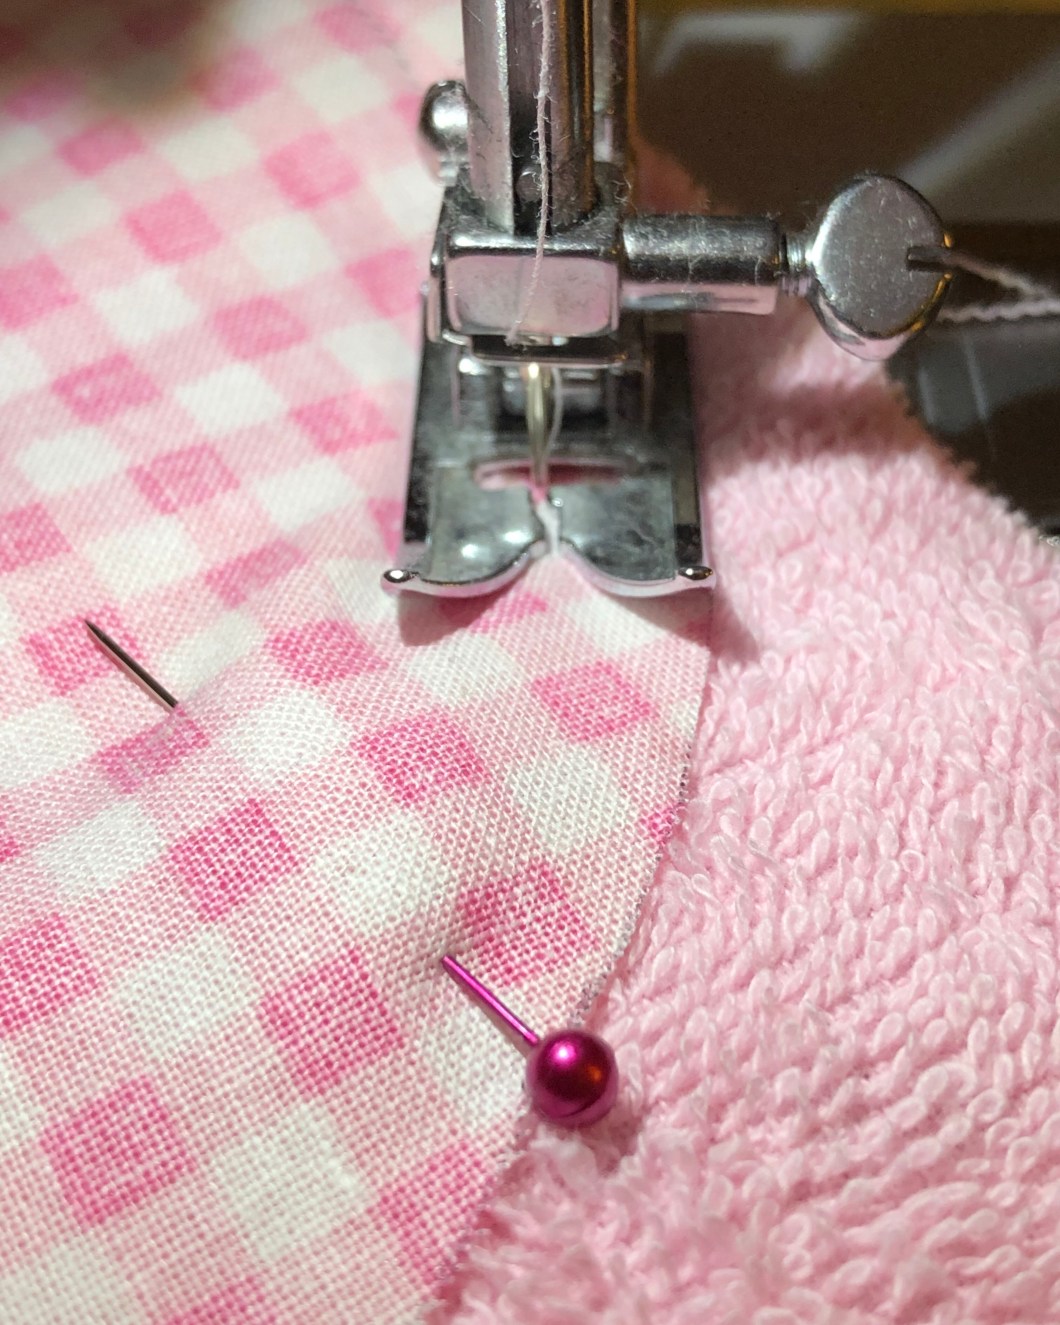
I don’t usually write on the fabric to mark the opening but I did for the picture. And I tried to fix the brightness. Ugh.

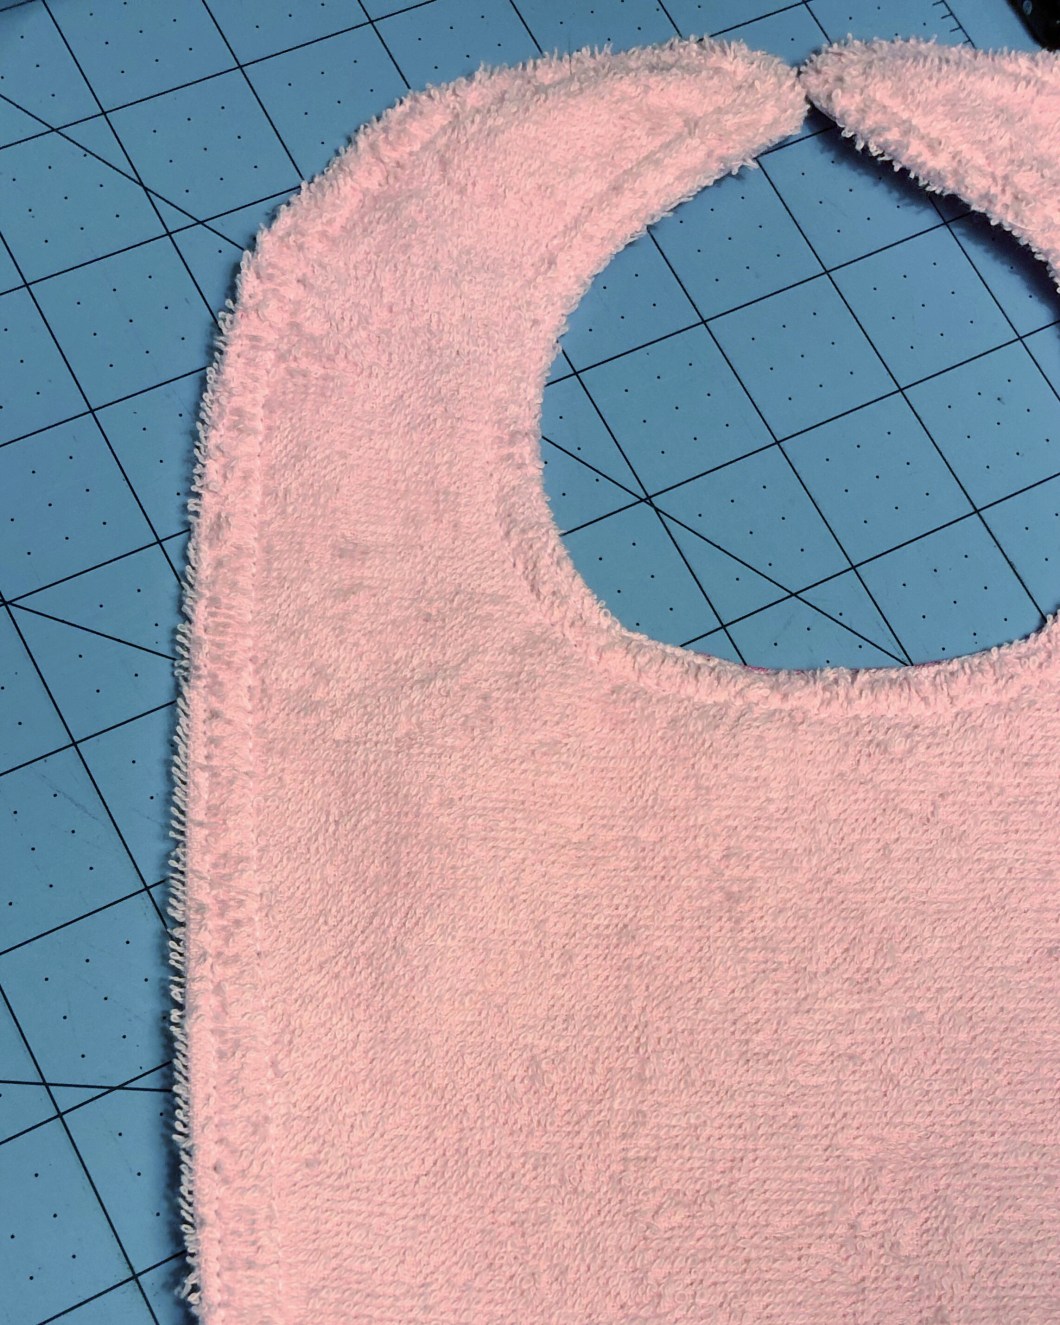
7. After you’ve sewn around, cut away the excess terry cloth and clip the curves.

Clipping little triangles isn’t easy for me. It looks like a rat chewed on it.
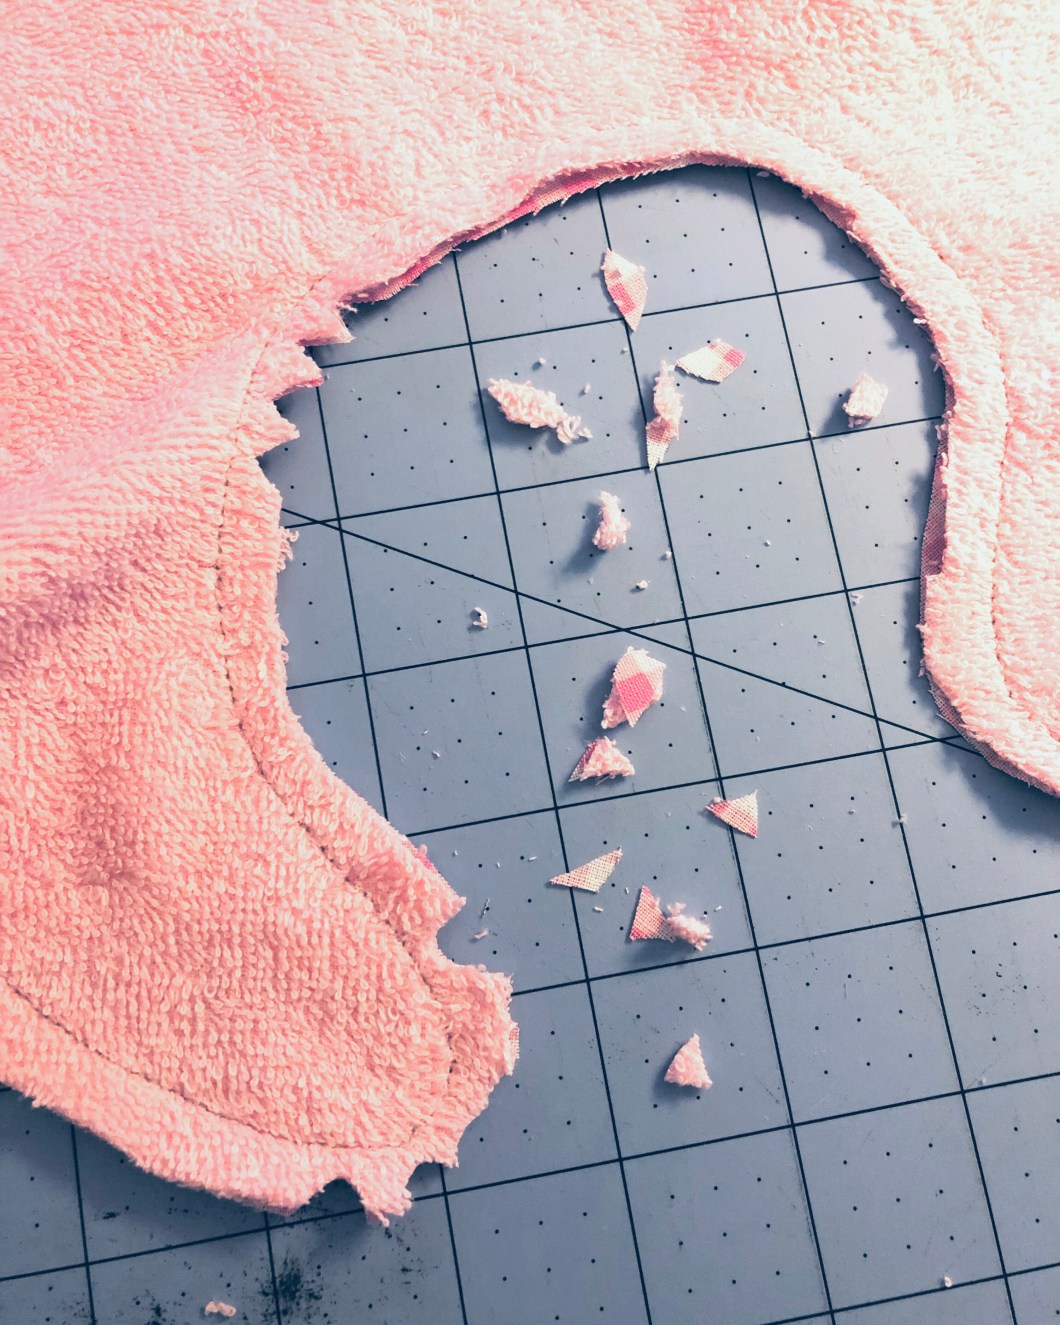
Here it is though. Not too bad.

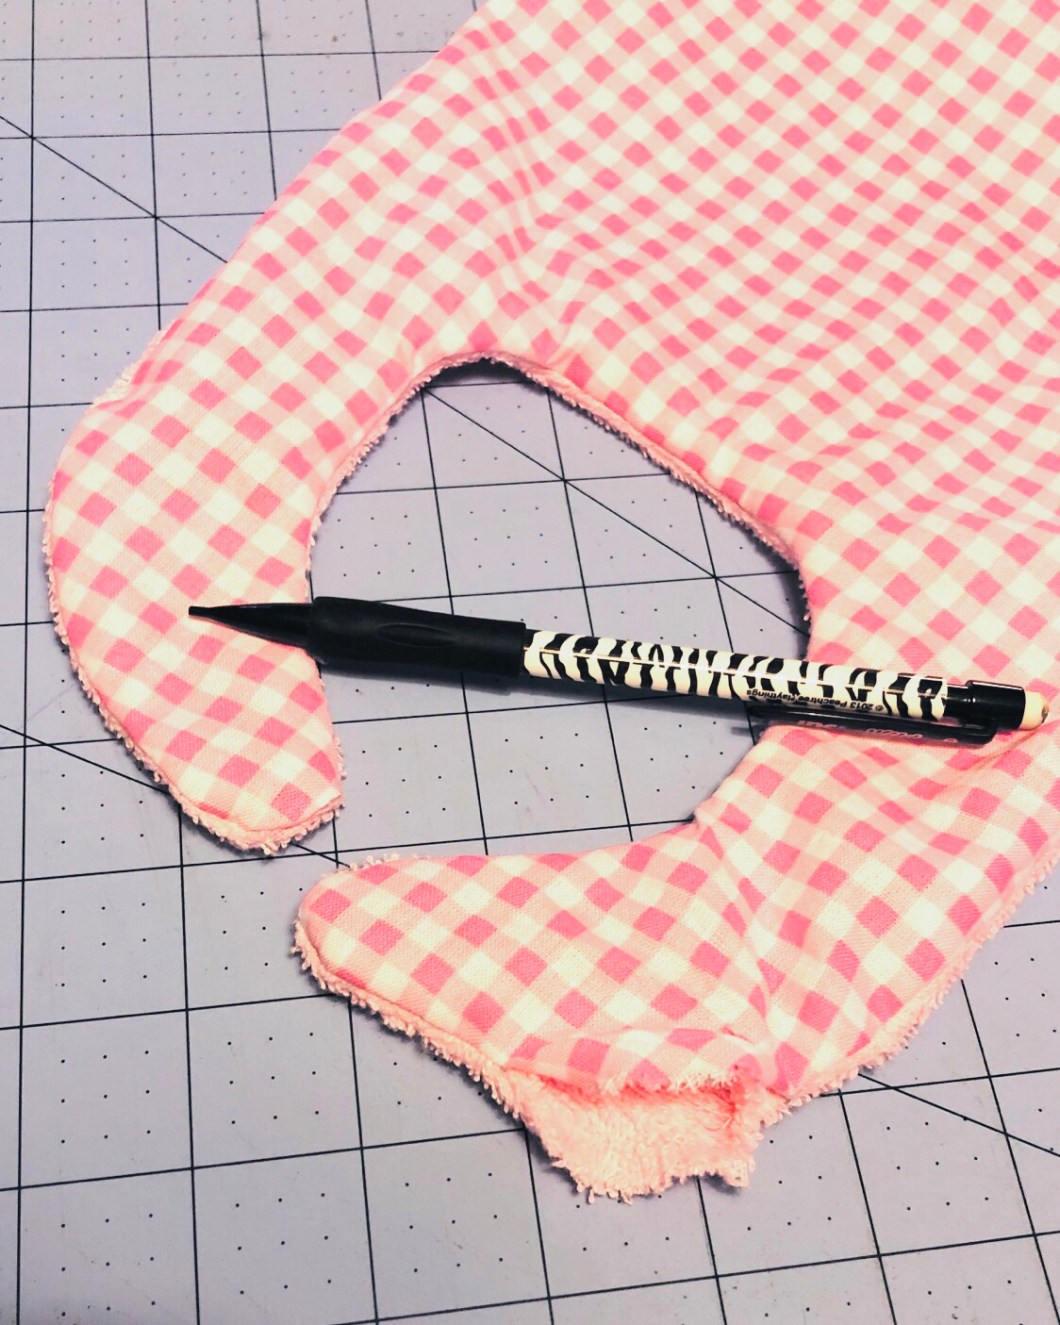
8. Turn the bib rightside out and use a point or corner turning tool to push the fabric and get the strap part of the bib all nice and neat.
Or you can use a mechanical pencil like I did. Capped inkpens work just as well.
Close that little mess of an opening and you’re ready to get finished.
GET FINISHED
Press the bib if you want. I did. A hassle but it does make topstitching easier.
9. Sew the mess opening closed. Hand sew with those magical invisible stitches or machine stitch and then just keep going to make a nice top stitch all around the edge of the bib.
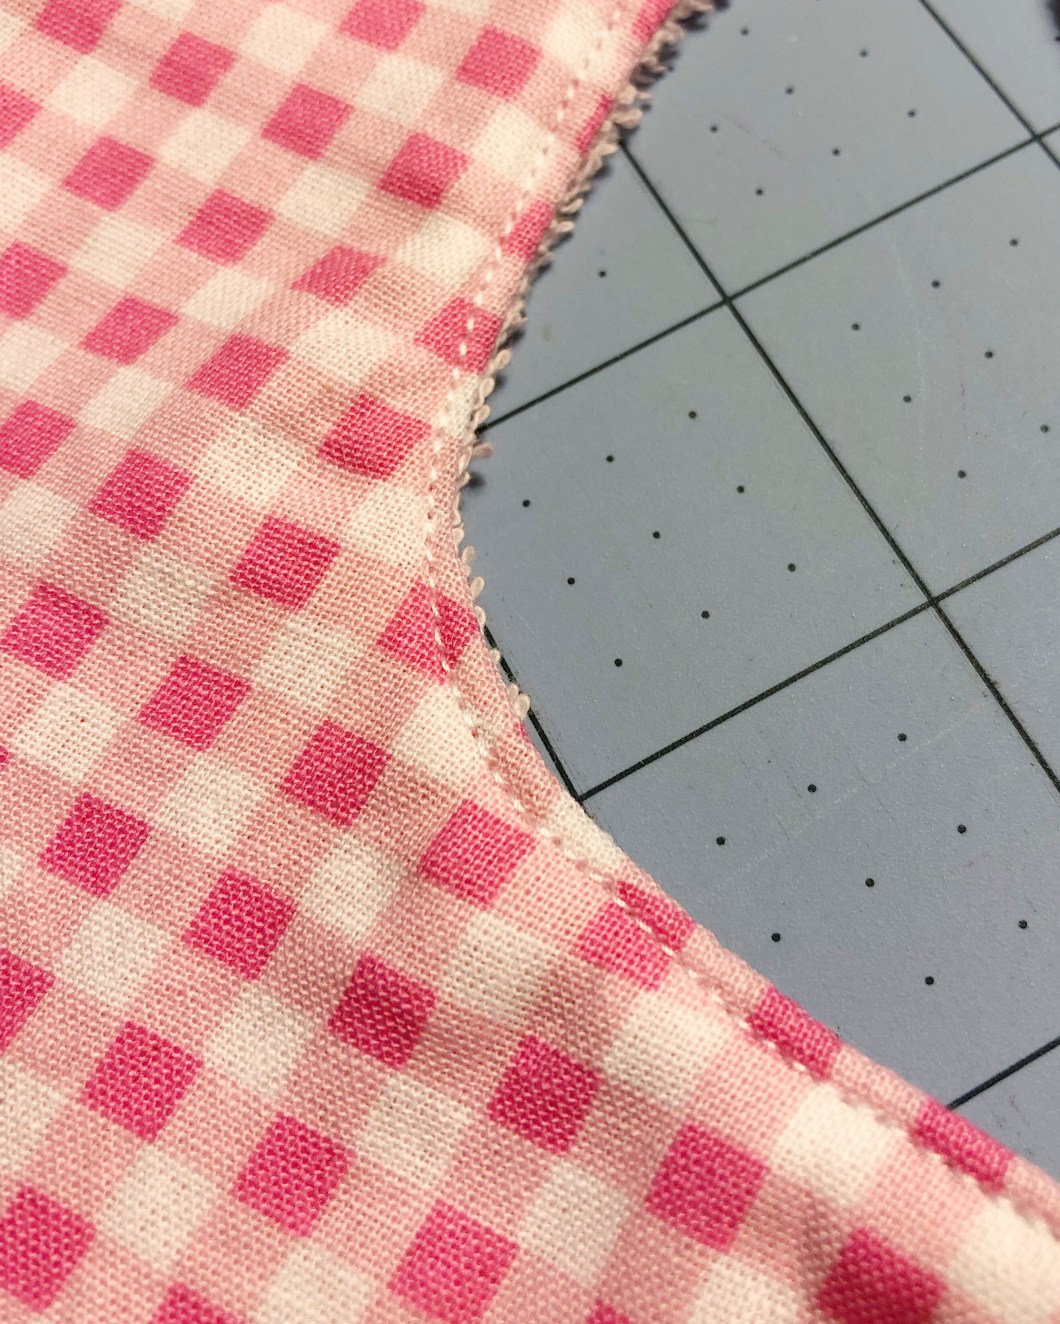
I like color thread but this looks cute with white. Thread doesn’t always have to match exactly, or even match at all. I use contrasting thread all the time. It always looks lovely in the end.
I added a second topstitch line.
10. Add the closing piece. Kam snaps, Velcro, magnets, magic, your choice. I use Kam snaps now only because I’m too lazy to cut the Velcro and curve the corners and sew it on. Velcro does let you make the bib straps adjustable. I had to use a silver snap because that’s what I have. In this case, a matching snap would look nicer.


I’m horrible at sewing curves but terry cloth hides ALL the mistakes!
If you haven’t been pressing the bib this whole time, press it now. You want it to look brand new, not like something that’s been beat up or used.
TA DA
Here’s the finished product along with a burp cloth underneath to try to keep the neck part from looking like a toilet seat.

Bib pattern from: haberdasheryfun.com
NOTE: this was finally posted after I was all better and no longer on house arrest. I just forgot to post it because I was busy doing things I was unable to do when I was recovering.
